Our first extraction
Its finally here! Its 22nd July and its time to do our first ever honey harvest. Over the last few weeks, the bees have been doing a fantastic job at bringing in the nectar and turning it into honey – so much so that we’ve had to take several frames just to make sure they would have enough space to get them through to harvest day! Now we’re here, lets talk about the extraction process and the results!
Step 1: Getting an extractor
One option for getting an extractor is to just go to your local beekeeping store and buy one – getting a manual one is going to be the cheapest option but depending on how many hives and how long you’d like it to last, you may be better off going for an electric one. Sadly, these can be pretty pricy. As this is our first year of beekeeping, we’ve opted for reaching out to the Gloucestershire Beekeepers Association who thankfully have extractors available to hire for (at the time of writing this) £10 per week. If your local, id highly recommend becoming a member and taking up this option.

Step 2: Other bits and bobs
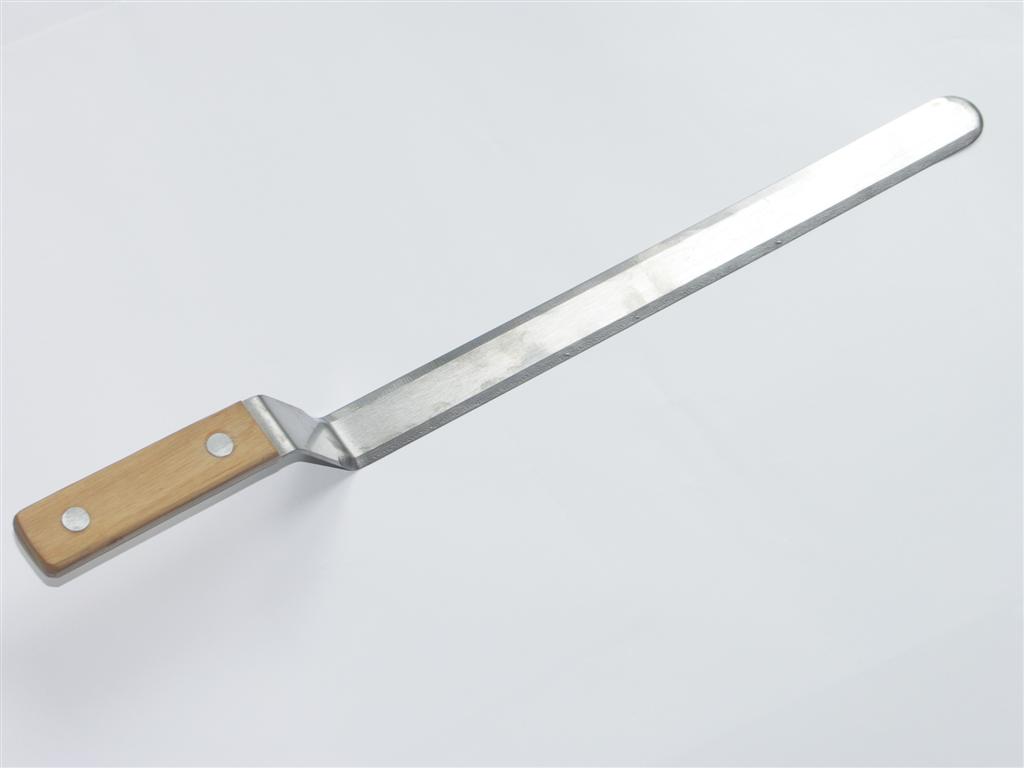
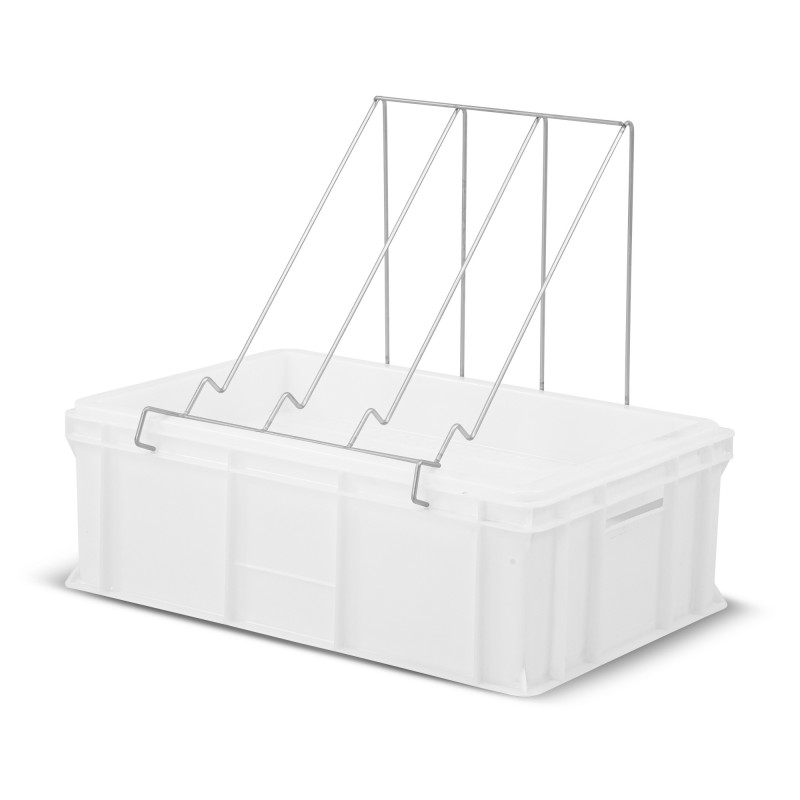
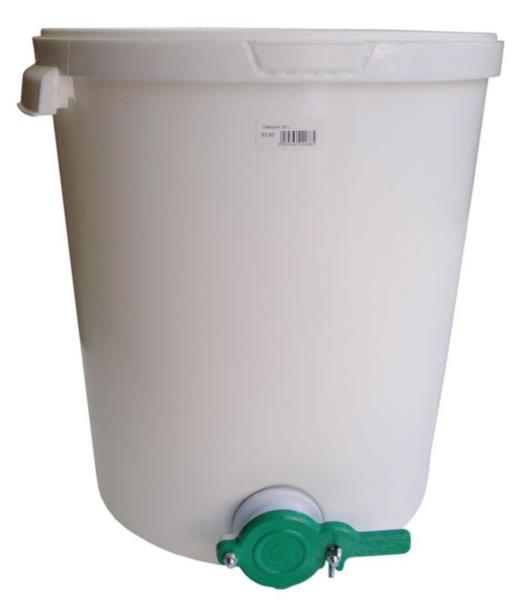
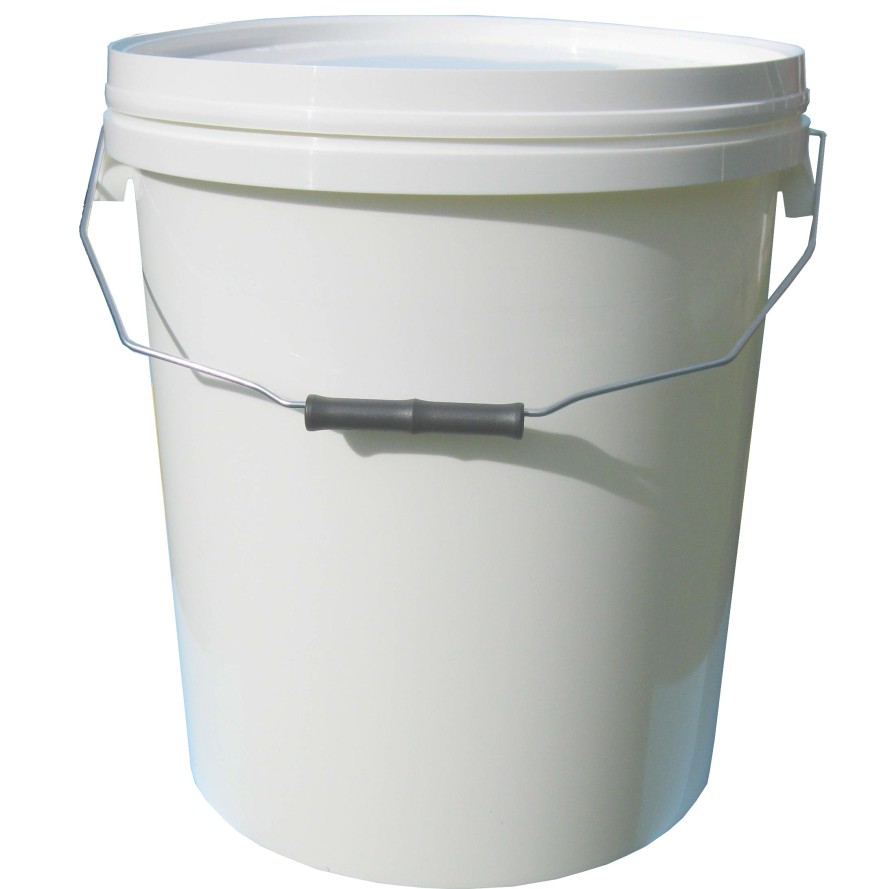
Other things which you will likely need for your extraction will be some kind of uncapping tray and knife. Along with this, a couple of food safe buckets, a settling tank and a something to filter the wax cappings from the honey. I bought mine from Abelo and would highly recommend them.
Step 3: Getting your frames of honey
At this point in the season we’ve added 3 supers. During our 13th inspection we go through the hive and pull out all fully capped over frames. This came to a total of 23 super frames plus 1 frame from the brood box which was full of honey. We have another 11 frames which are almost capped over which will be extracted on a future date.
The process pulling out these frames along with making our first split can be seen here:
Step 4: Uncapping and extracting
Now you’ve got all your kit and your frames of honey, lets start uncapping all our frames and loading them into the extractor. The uncapping process is fairly straight forward, either take your knife and run it down the frames to remove the top layer of wax. The removed layer will fall down into the uncapping tray and left over honey will drip out into the container at the bottom. Once uncapped, spread these evenly into the extractor making sure they are balanced evenly (If not, the extractor will wobble quite a bit). After this, turn on the extractor and slowly progress through the levels to allow the honey to cap out. In total, I spent five minutes in one direction before reversing the spinning direction for another 5 minutes. After this, I removed the frames and put the empty frames to one side. Later, I return these frames to the bees to allow them to clean them off for us.


Step 5: Filtering the honey and jaring
After every 1-2 loads, I open the valve and allow the honey to flow out into the honey strainer to remove any wax and debris and store the contents into a bucket before then finally filling our honey settling tank. From here, leave it for a at least a day before filling your jars
Final wrap up
We haven’t got around to bottling all of our jars yet but here is the first batch! Really happy with our first harvest – But I recon in total we’ve extracted around 35kg of honey! If you’re interested in buying any, check out our Products page!


